
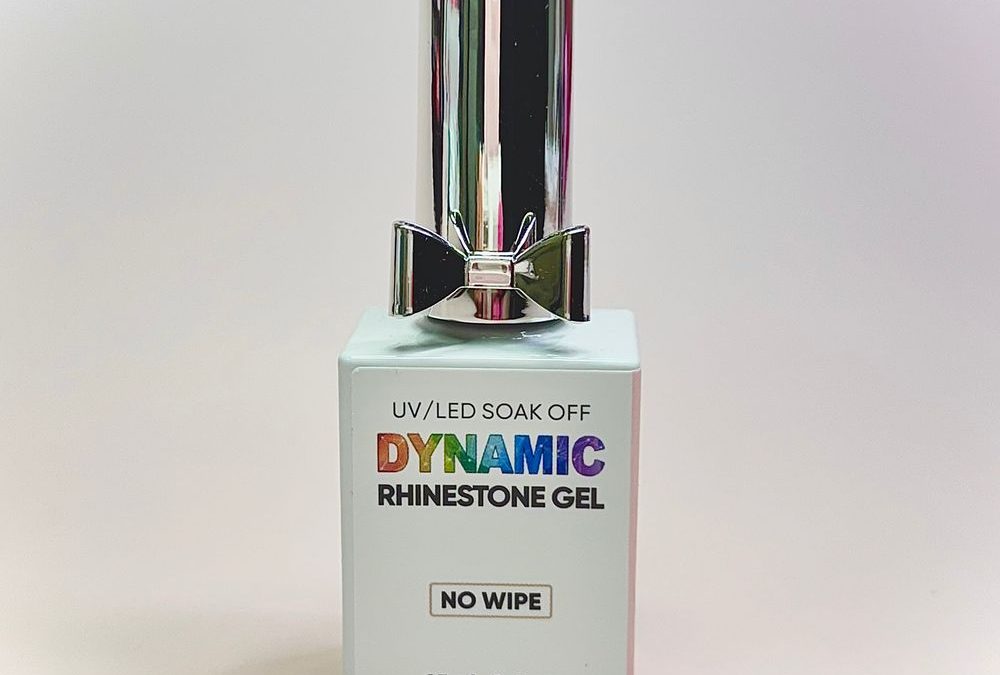
Beginner-friendly reassurance: a mobile nail tech can learn to photograph and film raised water-drop gels without fancy gear—simple framing and a steady hand go a long way.
Showcase step-by-step application
Break the work into short clips that follow the service from bare nail to glossy dome. Short, scannable steps make the process approachable for viewers and repeatable for other techs.
- Clip 1: Prep and base—show buffing, dehydrate, and that a base coat is required (note: base coat not included).
- Clip 2: Liner brush work—filming a single precise line or a water-drop with the thin liner brush makes a great close-up.
- Clip 3: Cure and build—show the thick, translucent gel being cured under a lamp so viewers see the high-gloss finish.
- Clip 4: Final reveal—rotate the finished nail to catch the pronounced dome and translucent jelly ombré.
Frame before-and-after transformations
Use a consistent angle and lighting to emphasize the raised dome texture. A clean before-and-after is click-friendly and helps clients understand the 3D effect.
- Before: capture the plain nail with neutral background and labelled step (e.g., “Prep”).
- During: tight crop of the liner brush shaping a water-drop dome.
- After: wide crop showing how candy-colored gradients play under glossy droplets.
- Tip: shoot one static before, then a slow pan reveal for the after to highlight the depth of the domes.
Create short how-to reels
Fast-paced reels work best for mobile clients scrolling quickly. Keep each reel focused on one visual trick so viewers can learn in seconds.
- Quick trick reel: make a jelly-ombre tip and add clear raised droplets as accents—30 seconds is enough.
- Texture close-up: a 10–15 second macro showing the glossy, thick domes from different angles.
- Chrome mix demo: layer a thin swipe of chrome powder on the cured dome to show how the gel plays with pigments.
Show variety with theme-driven posts
Group posts into mini-series that reflect looks the product suits—rainbow stiletto tips, tropical neon french, jelly-ombre with clear accents. This keeps a feed cohesive and makes it easy to plan content batches.
- Series idea: “3 Looks, 3 Minutes”—each post is a quick shot of a different ombré gradient under glossy domes.
- Client-education post: explain why the no-wipe, thick gel creates pronounced water-drop texture and how it differs from thinner gels.
- Accessory pairing: post a stacked-accent close-up showing how rose-gold packaging tones complement warm gradients.
Cater to engagement with interactive posts
Ask followers to choose which dome they’d wear—interactive content boosts saves and comments. Use clear photos to make choices obvious.
- Poll post: cyan→yellow versus mint→pink dome—let followers vote in Stories or comments.
- Before/after slider: invite viewers to slide and see how a clear raised droplet changes the nail’s depth.
- Caption prompt: ask followers to name a shade combo for the next set, encouraging requests and bookings.
Plan product-focused educational posts
Short captions that cover basic handling are helpful and build trust. Mention the simple safety and use notes in a friendly way.
- Safety note post: remind followers that the gel must be cured under a UV/LED lamp and to patch-test new products.
- Temperature tip: show warming a bottle briefly if the gel thickens in cold weather—demonstrate safe soaking in warm water for a few minutes.
- Tool demo: highlight the thin liner brush that enables precise lines and water-drop shapes.
Plan captions and hashtags for reach
Keep captions chatty and instruction-lite for visual posts, and more detailed for how-tos. Use targeted hashtags around 3D gel, rhinestone glue, and water-drop nails for discoverability.
- Caption format: 1-line hook, 2–3 short steps, booking CTA or question.
- Hashtag mix: combine service tags, location tags, and a branded tag if the tech wants repeat recognition.
Mid-article product mention: when demonstrating precise liner brush work or creating raised droplets, consider featuring Thick 3D Rhinestone Gel in a close-up macro to show how the thick gel builds pronounced domes that pop on camera.
Batch content and repurpose smartly
Mobile techs can film a single session and rework clips into multiple posts: a reel, a carousel before/after, two Story clips, and a close-up still. This maximizes one service visit into a week of content.
- Clip conversion: a 60-second video can become three reels and four Stories.
- Thumbnail strategy: save the most textured macro as the carousel cover to drive taps.
- Pricing cue: mention service pricing lightly; the product retails for $8 (prices may change).
Quick specs
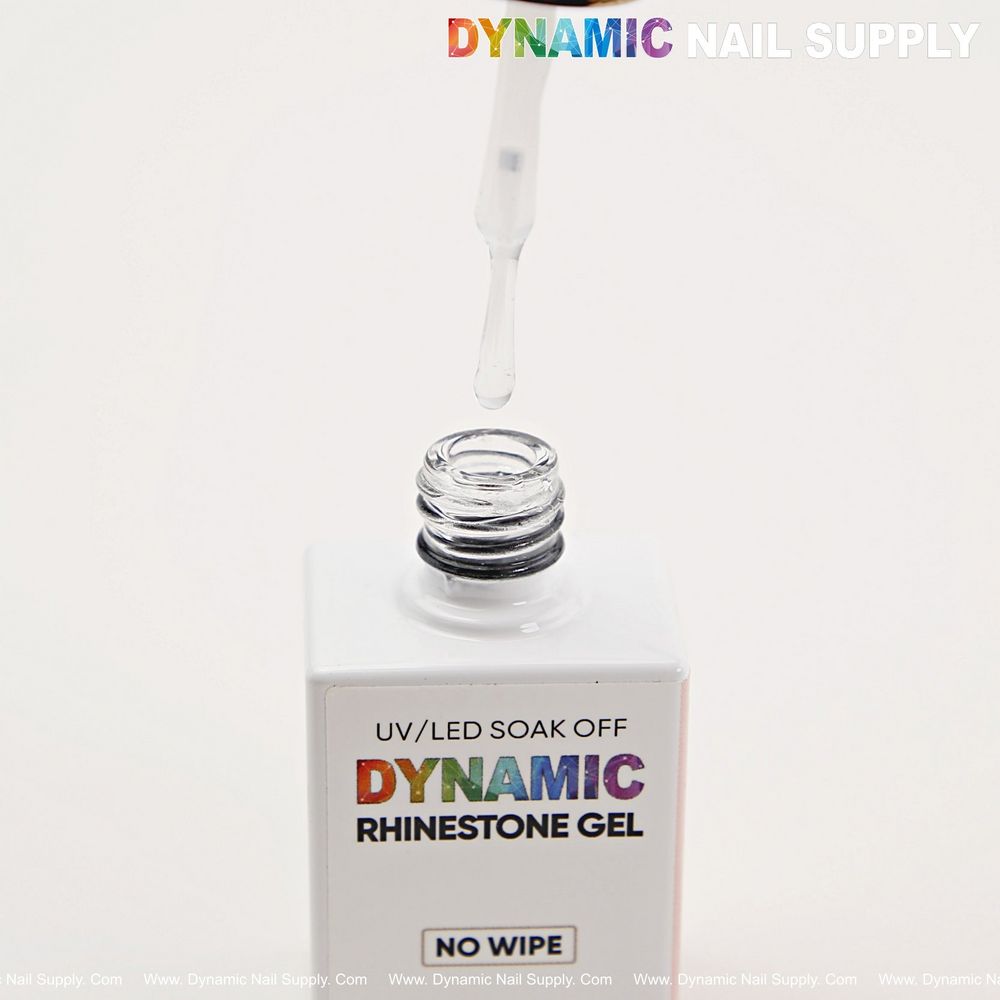
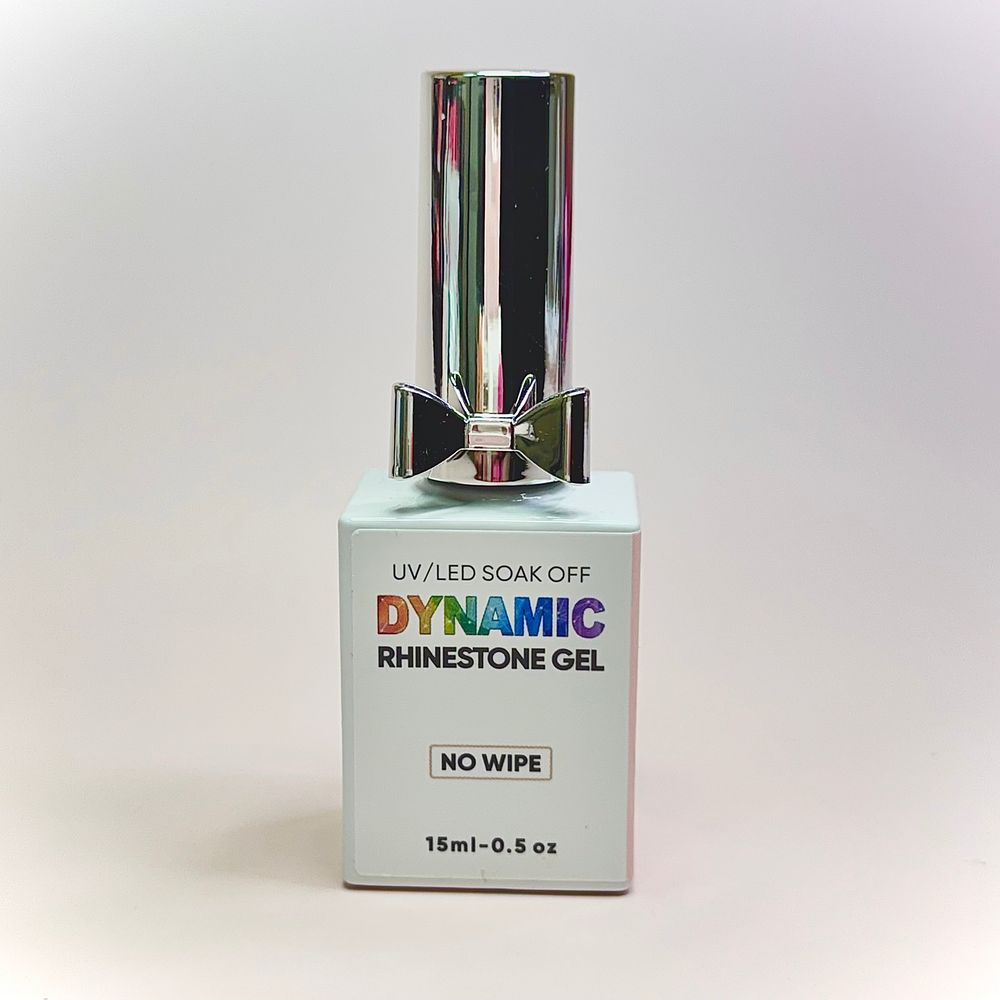
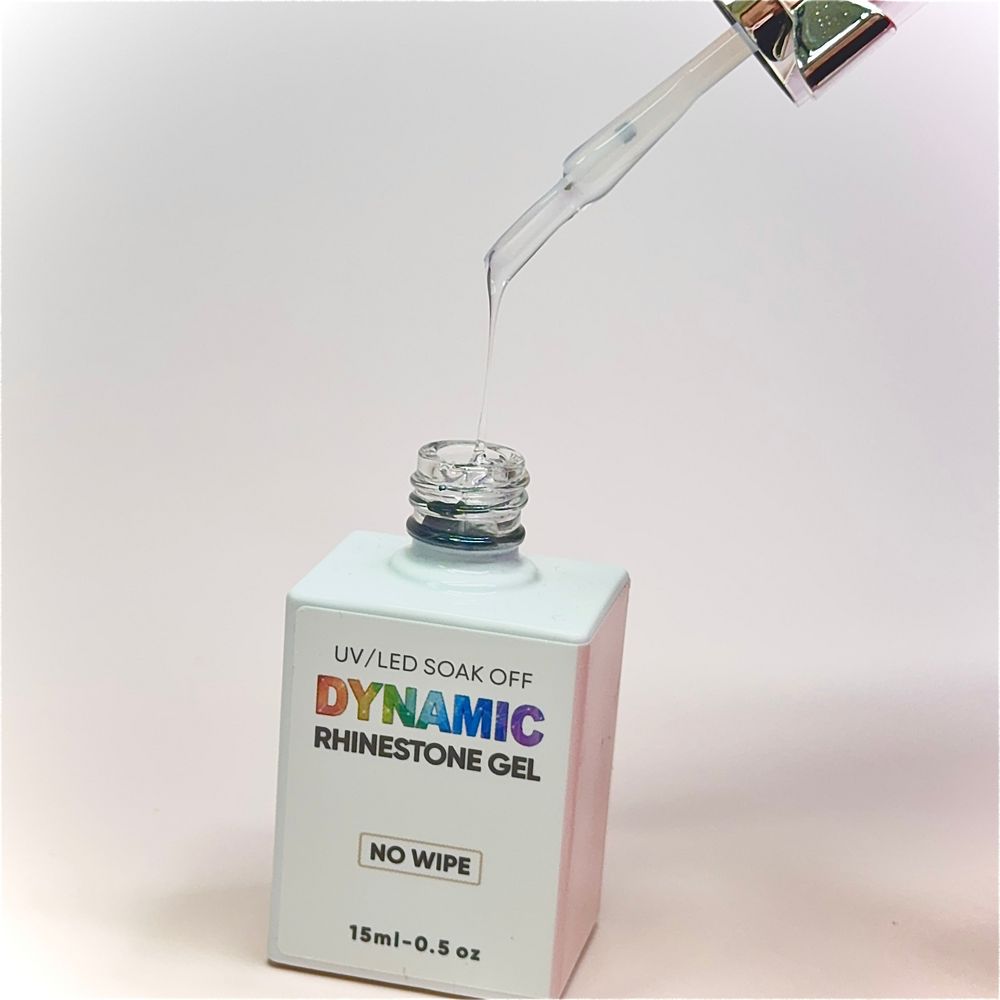
- Bottle size: 15 ML
- Includes thin precision liner brush
- Finish: high-gloss thick translucent gel
- Visible colors: candy-colored gradients and clear water-drop accents
- Formula: 9 toxin-free ingredients
Safety and handling: always cure under a UV/LED lamp, use a base coat, perform a patch test before full use, and warm the bottle briefly if the product hardens in cold conditions.
One-line takeaway: make bold domes and bite-sized clips—simple filming choices turn raised water-drop gels into scroll-stopping content.